
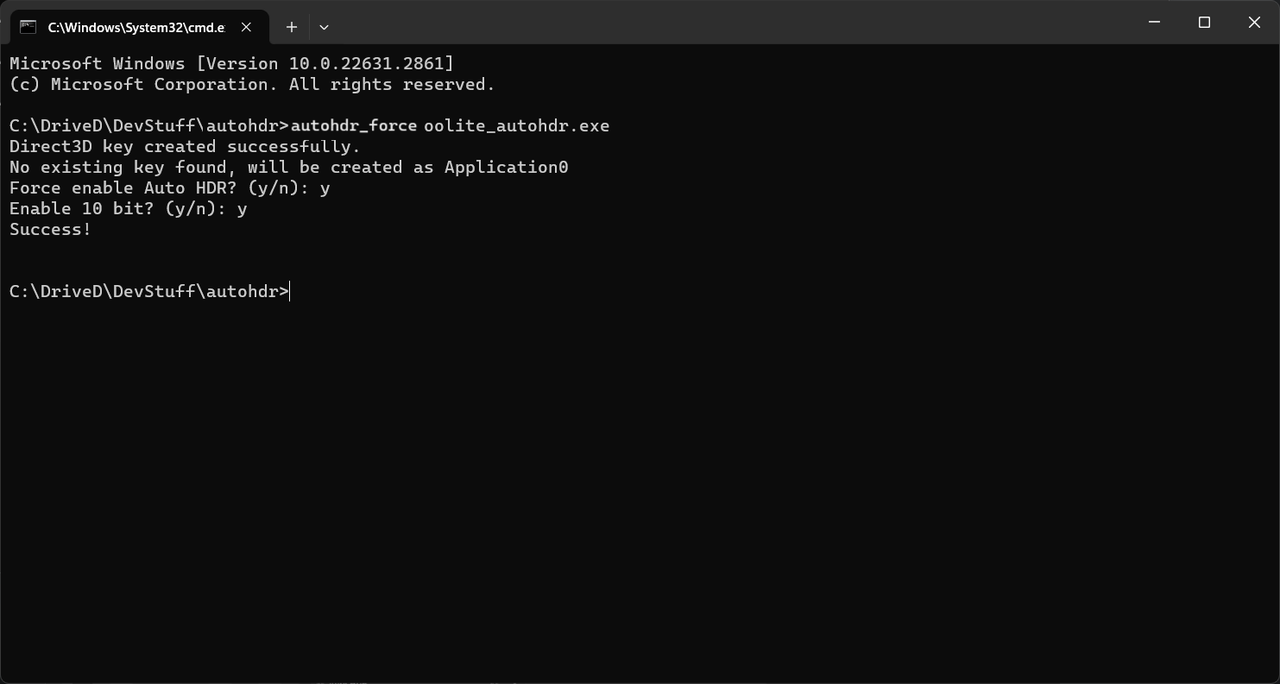
It is surprisingly easy from there on: Just download this autohdr_force utility, open a cmd console window and run it. It takes just one parameter, namely the name of the executable you want to force Auto HDR on. Respond with (y)es to both questions that follow and you are done.
When you run Oolite next time, you will notice immediately that the colors pop much more and everything looks brighter.
Of course, those who have been paying attention know that Oolite 1.91 already supports HDR natively on Windows. However, this is an alternative way to get HDR (admittedly not as good as the native thing IMO) and has the advantage that it works also on 1.90 (or any older version, really), which does NOT support HDR natively.
You can adjust the HDR brightness from Windows game bar (Win + G to activate it) by following the numbered steps in the pic below.

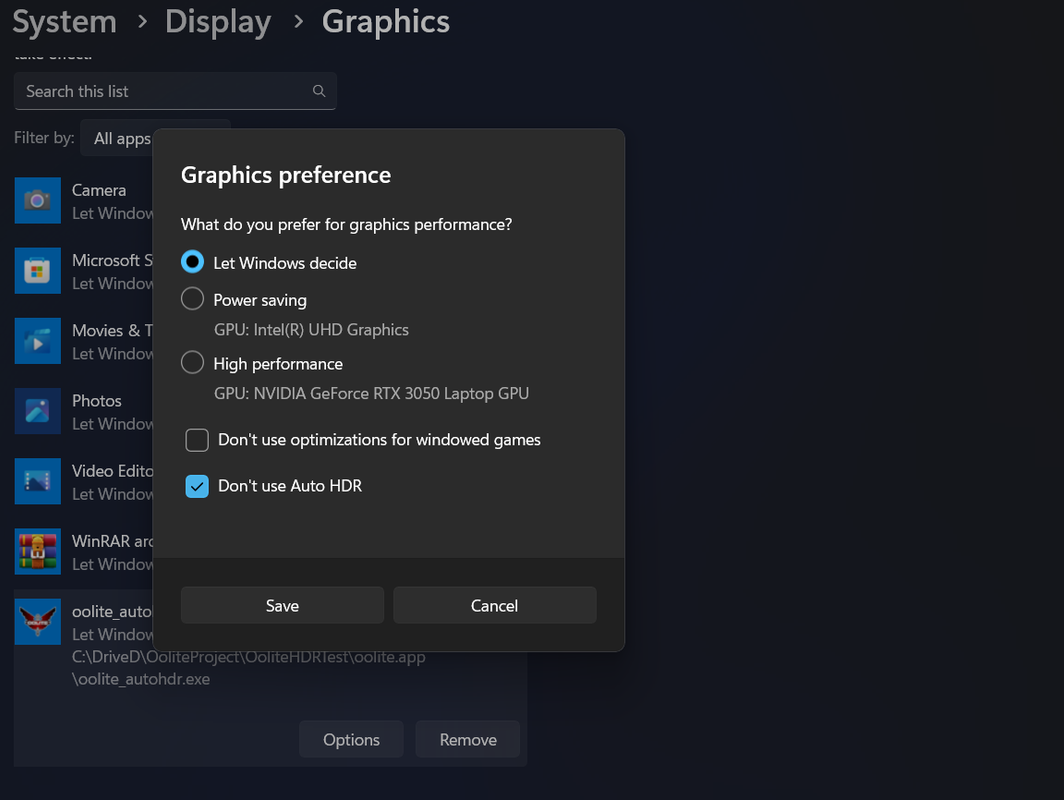
If at any point you want to stop forcing Auto HDR, you can do it from the Windows Settings -> System -> Display -> Graphics page as seen below (scroll down to the applications list).
For anyone wishing to know what exactly the autohdr_force utility does, it just creates the registry key HKEY_CURRENT_USER\Software\Microsoft\Direct3D\Application0 and adds two subkeys inside it. If you add more games using this utility they will be entered as Application1, Application2 etc. You can see the result in Windows regedit here:
