Page 17 of 32

Posted: Sun Jan 18, 2009 5:14 pm
by Griff
wow, that was trippy, hope you haven't hidden any subliminal messages in there.
*struggles to resist urge to email Ahruman bank sort code & PIN number*

Posted: Sun Jan 18, 2009 8:36 pm
by Captain Hesperus
Griff wrote:
wow, that was trippy, hope you haven't hidden any subliminal messages in there.
*struggles to resist urge to email Ahruman bank sort code & PIN number*
*already has PM'd Ahruman bank security details*

If he can do that with a shader, I'd like him to do something magical with the hideous amount of overdraft I am currently straining under.

Captain Hesperus

Posted: Mon Jan 19, 2009 4:20 pm
by JensAyton
Here’s something I smacked together this morning (insomnia’s good for something after all) – “Active Camo” Cobra III NjX, two variants. Requires standard Cobra III NjX OXP.

Testing note: the effect uses the sun colour as outlined above. However, the light in Lave happens to be grey. Reorte and Diso have more colourful suns (purple and green respectively… the two colours incandescent can’t actually be. Oh well.)

It’s not very effective camouflage, but kinda fun.

Posted: Mon Jan 19, 2009 5:42 pm
by wackyman465
(Too lazy to launch Oolite)

Screenshots?

Posted: Mon Jan 19, 2009 6:09 pm
by JensAyton
(Too lazy to take screen shots)

Like the pictures on the previous page, only on parts of a ship. :-)
Also, it’s an animation effect. What’s the point of a screen shot?

Posted: Sat Jan 24, 2009 6:15 pm
by Griff
I've uploaded the normal mapped vresion of the Cobra3 i've been working on here:
http://www.box.net/shared/eltugqkkk0
Image
Gah! Now they've got AI's i couldn't get close enough to them to take a screen shot!

At the moment, this is the normal mapped version of the ship that will only work with the trunk build of Oolite - it won't work with any of the test releases, and the player flyable version isn't in this download either, i'll sort that out tomorrow - it just needs all the external view settings and stuff working out.
edit: added the player flyable version - still only works with the trunk oolite

Posted: Sat Jan 24, 2009 6:23 pm
by JensAyton
Griff wrote:
Gah! Now they've got AI's i couldn't get close enough to them to take a screen shot!
Your sekrit cheat code for the day: player.ship.target.setAI("dumbAI.plist")

Posted: Sat Jan 24, 2009 6:40 pm
by Griff
argh! bugs!! sorry, there's errors in the shader if you try the oxp in simple shader mode, i'll get them fixed and re-upload!
edit: Fixed! "vec4 Color" was being defined twice because some #ifndef OO_REDUCED_COMPLEXITY #endif stuff was missing

Thanks for the cheat code Ahruman!

Posted: Sun Jan 25, 2009 2:36 pm
by Griff
I've noticed there were a few errors in the normal mapped cobra i uploaded above, the repeat along S option was missing from the decal texture which meant that some decals had their edges missing and i'd totally forgotten to put the shipyard.plist file in which meant that the cobras would not have appeard for sale anywhere, plus i think some stats were missing from the player version of the ship (energy rate and stuff like that).
I'm sure i've now fixed the oxp and re-uploaded it here
Griff_NormalMapped Cobra 3
http://www.box.net/shared/eltugqkkk0

I've also finished the non-normal mapped version of the oxp which should now work in any version Oolite from v.171 and up, that's uploaded here:
Griff_No_NormalMap_Cobra3
http://www.box.net/shared/buguehovmt

Posted: Sun Jan 25, 2009 3:31 pm
by ClymAngus
Griff wrote:
I've noticed there were a few errors in the normal mapped cobra i uploaded above, the repeat along S option was missing from the decal texture which meant that some decals had their edges missing and i'd totally forgotten to put the shipyard.plist file in which meant that the cobras would not have appeard for sale anywhere, plus i think some stats were missing from the player version of the ship (energy rate and stuff like that).
I'm sure i've now fixed the oxp and re-uploaded it here
Griff_NormalMapped Cobra 3http://www.box.net/shared/eltugqkkk0

I've also finished the non-normal mapped version of the oxp which should now work in any version Oolite from v.171 and up, that's uploaded here:
Griff_No_NormalMap_Cobra3
http://www.box.net/shared/buguehovmt
I'm going to have to take a long hard look at that code sir. This is the future, after all.

Posted: Sat Feb 07, 2009 10:49 pm
by Simon B
For Ubuntu (and presumably Debian etc) users - there is a free software analog to that nvidia normal-map plugin for photoshop that Griff keeps going on about ...

sudo apt-get install gimp-normalmap
Normal map plugin for GIMP
This is a plugin for GIMP version 2.0+. It allows you to convert images into
RGB normal maps for use in per-pixel lighting applications. The goal is to
completely clone NVIDIA's photoshop plugin, with a few new useful features.
Naturally the sorce code is available...

I did it the other way around - starting with nvidia website links ... thanks Griff.

The other GIMP plugins are worth considering - texturize, for eg, does "make seamless" but without the wallpaper effect.

BTW: I had thought of redoing the coriolis statian in dark-tones (black and graphite) with wee lights and etched textures ... only to find that Griff has already done it!

Now to mosey along to the skinners den...

Posted: Sun Feb 08, 2009 4:17 pm
by Kaks
Simon B wrote:
BTW: I had thought of redoing the coriolis station in dark-tones (black and graphite) with wee lights and etched textures ... only to find that Griff has already done it!
Yep, no flies on that Griff guy!

...and while I'm posting, I really need to say thank you! Watching what you 'graphic' guys are able to do with textures & models is simply ...well... awe-inspiring is probably the best way to put it...

Cheers,
Kaks.

Posted: Sun Mar 01, 2009 4:07 pm
by JensAyton
As some may have guessed, my enthusiasm for Oolite is at the low end of the cycle at the moment. As usual, this means I’ve been playing. Today’s toy project is an implementation of distance mapping, a useful technique for decals. If you’ve played Half-Life 2 and derivatives, or Fallout 3, you may have seen it used for in-game text on signs and similar.

Distance mapping is a technique that allows low-resolution textures to represent sharp-edged shapes which can be magnified almost without limit. The tradeoff is that it only represents shapes, with no colour, shading or transparency (although you could of course have one shape per channel).

Here is an example shape and its corresponding distance map:

Image

Image

This looks a lot like any old blur, but it isn’t exactly. Each pixel of the distance map texture represents the distance to the nearest edge of the shape. Values below 0.5 indicate a point outside the shape, while values above 0.5 indicate a point inside the shape. You’ll also note that the distance map is 1/256th of the size of the original, which is not to be sneezed at. (My code for generating distance maps is in the Oolite source tree, and a pre-built Mac version is available here).

To use the distance map in a shader, you read the texture map in the usual way. If the value is greater than or equal to 0.5, the current fragment is inside the shape, otherwise it’s outside:

Code: Select all

float dmap = texture2D(tex, texCoords).r;
float mask = step(dmap, 0.5);
vec4 color = mix(kWhite, kBlack, mask);
So what does this win you? The clever part is that the bilinear filtering used to scale textures up interpolates the distance map much better than it does hard edges in a normal texture. Additionally, the trilinear mipmap filter used to scale textures down does a decent job of simplifying the shape. Here’s the result of the above snippet:
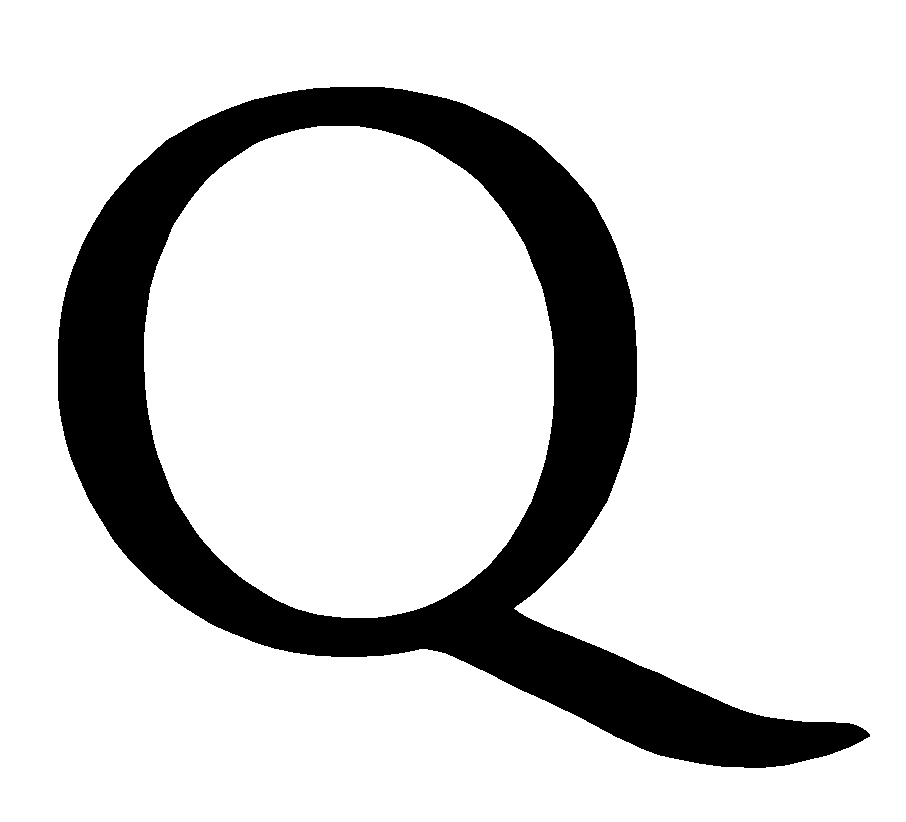
Image

It’s not magic; if you look closely you can see that it’s a piecewise linear approximation of the original shape, and the tip of the tail is clipped off in a funny way. Still, not bad for a 64 × 64 px texture, apart from the unacceptable aliasing.

To fix the aliasing, we’re going to cheat and blur the edge. This is easily done using a distance field: instead of using the step() function to introduce a hard edge at the 0.5 threshold, we use two slightly different threshold values and the smoothstep() function, whose hermite interpolation happens to produce a good blur profile.

Code: Select all

float dmap = texture2D(tex, texCoords).r;
float mask = smoothstep(0.5 - aaFactor, 0.5 + aaFactor, dmap);
The next question is how to select aaFactor. Ideally, it would be a value such that the blur covers about one screen pixel, but that distance in texture space varies depending on camera distance and so forth. Fortunately, GLSL provides us with the mysterious fragment processing approximate derivative functions, dFdx(), dFdy() and fwidth(). Without going into the details, we want to use fwidth() on the texture coordinates, average the x and y coordinates of the result, and multiply by a fudge factor (which is 3 in my example). This gives us:

Code: Select all

vec2 fw = fwidth(texCoords);
float aaFactor = (fw.x + fw.y) * 1.5;
Unfortunately, not all implementations give useful results. The broken hardware I’ve encountered always produces 0, so we can recognise this case and substitute a fixed blur factor instead:

Code: Select all

aaFactor = (aaFactor == 0.0) ? 0.03 : aaFactor;
The result (with a working fwidth()) looks like this:
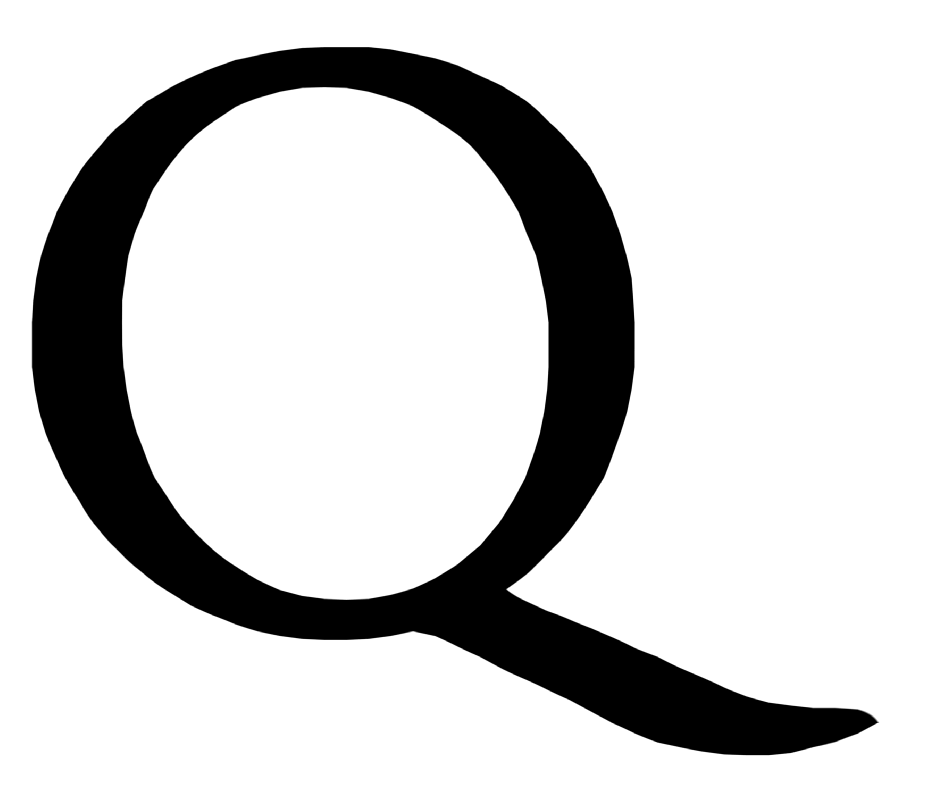
Image

Image

Apart from anti-aliasing, varying the threshold can be used to find boundaries at different distances from the shape – in other words, to create outlines, like this (inner threshold: 0.52, outer threshold: 0.49):
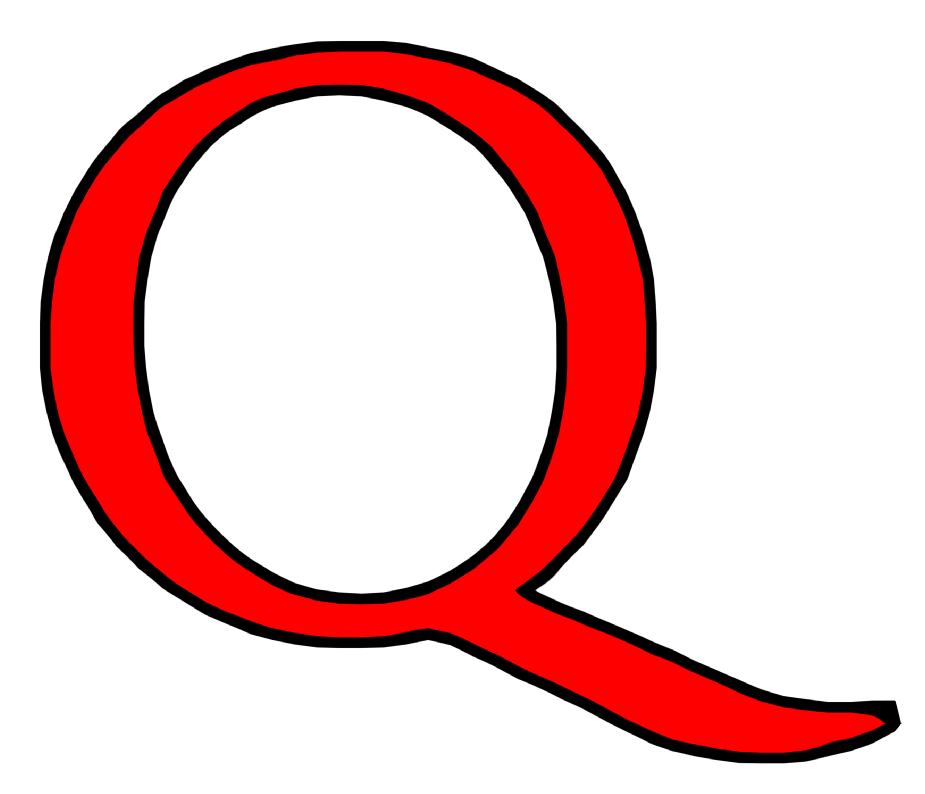
Image

Image

I have a variation in mind that would allow randomized damage/paint chipping to be applied without the outline following the contours of the chipping.

Here’s my test shader:

Code: Select all

uniform sampler2D tex;

const float kThreshold = 0.5;
const float kFallbackAAFactor = 0.03;

const vec4 kBlack = vec4(0.0, 0.0, 0.0, 1.0);
const vec4 kWhite = vec4(1.0);
const vec4 kRed = vec4(1.0, 0.0, 0.0, 1.0);
const vec4 kBlue = vec4(0.0, 0.0, 1.0, 1.0);


float DistanceMap(sampler2D texture, vec2 texCoords, float threshold)
{
    float dmap = texture2D(tex, texCoords).r;
    
    // Fake anti-aliasing with a hermite blur.
    // The fwidth() term lets us scale this appropriately for the screen.
    vec2 fw = fwidth(texCoords);
    float aaFactor = (fw.x + fw.y) * 1.5;
    // If fwidth() doesn't provide useful data, use a fixed blur instead.
    // Setting kFallbackAAFactor to zero gives you aliased output in the fallback case.
    aaFactor = (aaFactor == 0.0) ? kFallbackAAFactor : aaFactor;
    return smoothstep(threshold - aaFactor, threshold + aaFactor, dmap);
}


void main()
{
#if 1
    // NOTE: in real code, reuse the dmap value instead of sampling twice.
    float inner = DistanceMap(tex, gl_TexCoord[0].xy, kThreshold + 0.01);
    float outer = DistanceMap(tex, gl_TexCoord[0].xy, kThreshold - 0.02);
    
    vec4 decalColor = mix(kBlack, kRed, inner);
    decalColor = mix(kWhite, decalColor, outer);
#else
    float mask = DistanceMap(tex, gl_TexCoord[0].xy, kThreshold);
    vec4 decalColor = mix(kWhite, kBlack, mask);
#endif
    
    gl_FragColor = decalColor;
}

Posted: Sun Mar 01, 2009 8:40 pm
by DaddyHoggy
:shock: Wow!

Ahruham, the scale of your genius never ceases to amaze me...

So what will Griff produce now based on this new wizardry I wonder...

Posted: Sun Mar 01, 2009 8:44 pm
by JensAyton
DaddyHoggy wrote:
:shock: Wow!

Ahruham, the scale of your genius never ceases to amaze me...
Thanks, but I just read about this on the intertubes last week. It’s very easy to implement, most of the time was spend writing support functions in the tool that generates the distance map.